Athearn Blue Box SD40-2 Modifications
Here is a project I completed, where I took an Athearn Blue Box SD40-2 and performed the following modifications:
Repowered with Kato HM-5 motor
Added Loksound Decoder
Added (2) High Quality Sugar Cube Speakers
Converted headlghts to LEDs
Added lit and numbered numberboards
Added ditch lights
Repowered with Kato HM-5 motor
Added Loksound Decoder
Added (2) High Quality Sugar Cube Speakers
Converted headlghts to LEDs
Added lit and numbered numberboards
Added ditch lights
The main reason to repower Athearn Blue Box locomotives is because the stock motor uses too much current. The motor has a stall current of 1 amp, and often it is more, especially if the loco is older. The Kato HM-5 has about a 450mA stall current, less than half. Not only is high current a problem for some smaller or cheaper decoders, it will also draw more from your layout. In other words, using the Kato motor you will be able to run over twice the locos on any given layout before you max your layout's current.
The first step is to remove the motor and replace it with a Kato HM-5. I use my motor mount to make the job easy (I sell these on eBay, check the home page for a link to my store). I have found that if I retain the flywheels from the stock motor, I get to retain the remainder of the drive system. This makes life easier.
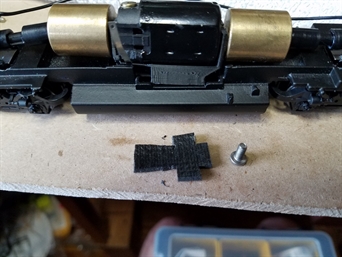
I like to run the loco on a DC oval to test things out before I continue. This way I can determine if there are other issues to deal with, like problems with the trucks or drive train. In this case, I discovered some undesirable noise at about 60% throttle. I discovered the motor was vibrating too much. Likely imperfect flywheels. I decided to add a neoprene spacer below the motor to isolate it from the frame. This somewhat simulates the Athearn stock motor mounts, which are a rubberized material.
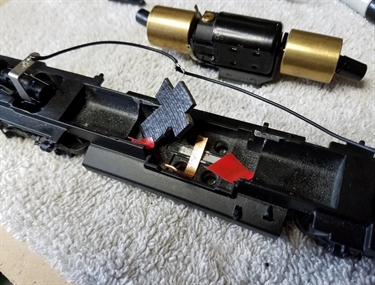
The copper strip is for connection to the frame for right-side wheel contacts. The frame doesn't take solder, so I get contact in the same place as the factory motor does, by sandwiching under the motor. The frame has been filed a bit under there for good contact.
The copper strip is for connection to the frame for right-side wheel contacts. The frame doesn't take solder, so I get contact in the same place as the factory motor does, by sandwiching under the motor. The frame has been filed a bit under there for good contact.


Here is the loco setup temporarilly with DC for testing. I run the loco for at least 10 minutes to see if any problems crop up.
Next is the headlights. Remove the cab to prepare for some filament lighting.
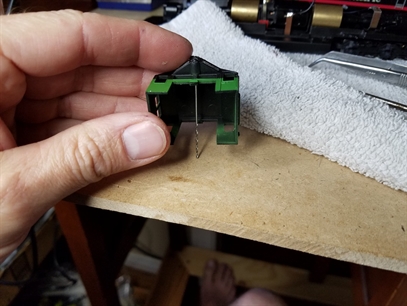
Sometimes the headlight bezel doesn't want to come out. Use a 1mm drill bit to pop it out.
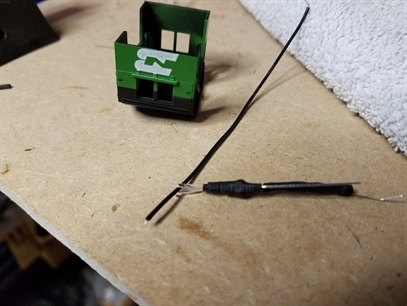
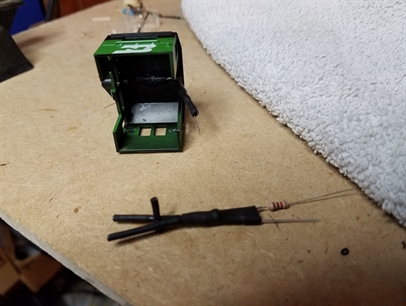
My pre-prepared filament-LED assembly. Two ~inch long pieces of filament shrink-wrapped to the end of a 3mm LED. Use a piece of wire (pictured) to separate the filament for insertion in the cab.
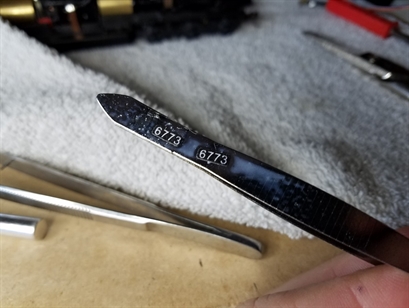
Number boards are next. This is simply a printout of a 8pt. font from an inkjet printer on regular paper. I sprayed it with clear spray to seal the ink and it darkened the black a bit too. I just used white glue to apply to the number boards. After the loco was completed, I touched up around the edges with a toothpick dipped in black paint, because light always leaks out around the number boards. I had to wait until I had light coming through to see the leaks.
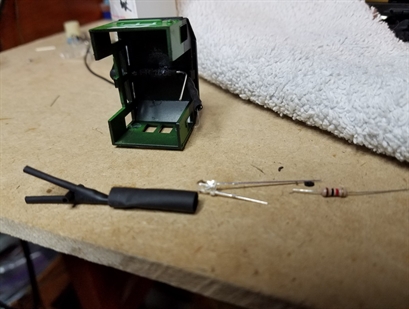
The number board LED assembly's two pieces of filament needed to be split quite a distance apart. Some more creative use of heat shrink was in order, including a piece glued with CA in the middle to permanently hold the filament apart. By the way, I use hot-melt glue to hold most things in the shell. I just had to make sure not to use it where there was filament close by (low melting temp). I apply glue to the areas where the LEDs and wires reside.
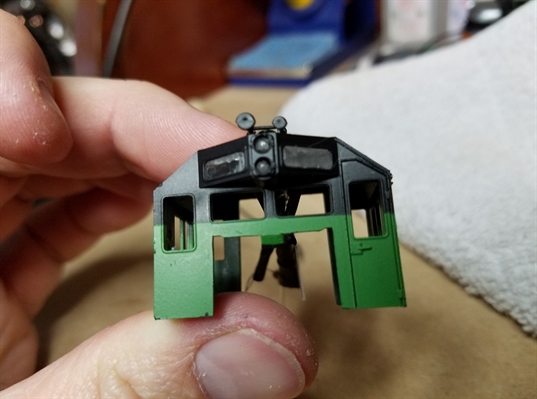
Result. Headlight and numberboard lighting installed. The headlight bulbs are the ends of the filament, swelled with heat (see filament how-to).
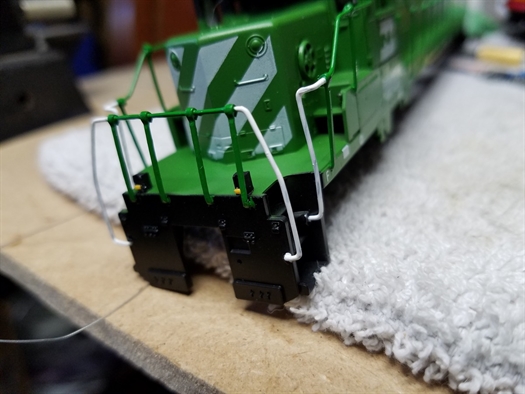
Ditch lights are next. I used two SMD LEDs in front of some scrap I-beam, cut and painted black. Tiny holes were drilled down through the porch for the wires. The LEDs stick out a bit, next time I will get it closer. The LEDs I bought have human-hair-sized wire pre-soldered to them. I now have stand-alone LEDs that I solder magnet wire to myself. The magnet wire is easlier to deal with because it stays where you put (bend) it.
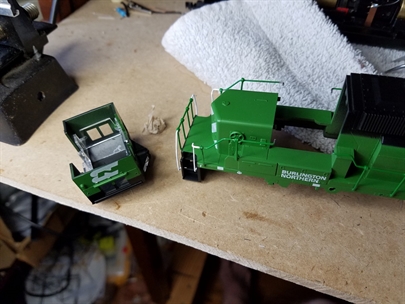
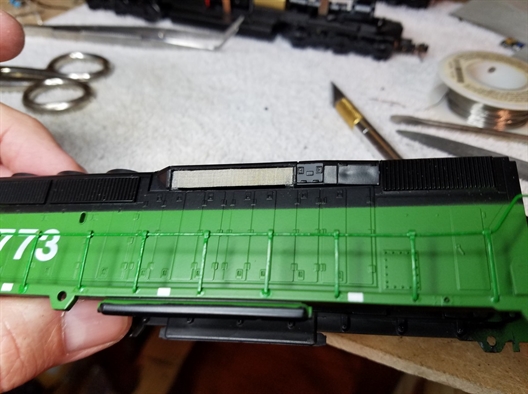
The inside of the shell with the cab re-installed, showing all the wires. Spaghetti, anyone? You can also see a black rectangle in front of the dynamic brake hood. This is a sugar cube speaker glued to one side of the shell.
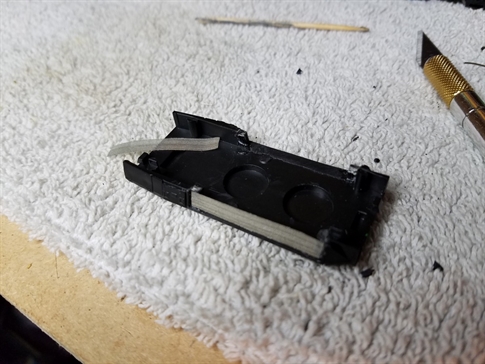
This is the dynamic brake hood (is that the correct name?). In Athearn Blue Box SD40-2, this piece is removable, giving me a good area for the speaker. I decided to remove the side vents and replace with some fine screen material I have for this purpose. This is very effective at letting the sound waves exit the shell directly.
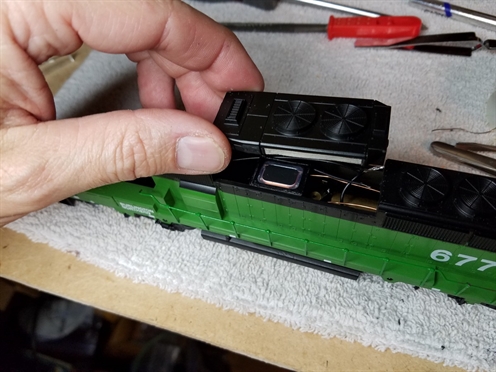
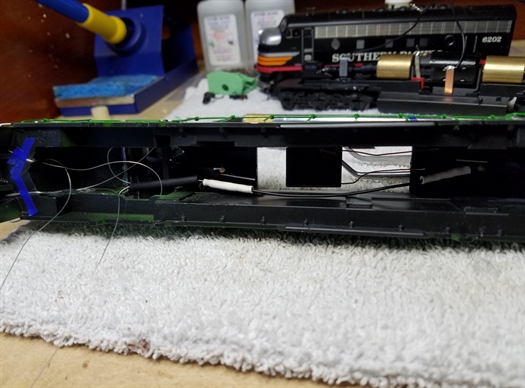
I failed to take pictures of the decoder install, but it was installed just aft of the speaker, in the space you see here. The removable hood provided extra access, which proved useful for wire management when reinstalling the shell on the frame.

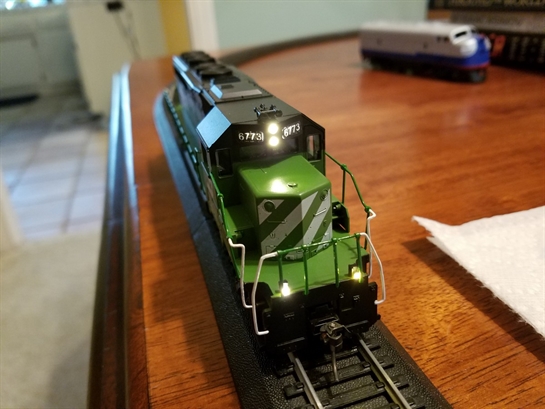
Finished project, showing all lights lit. What is up with that yellowish ditch light? These SMDs were all in the same pack. Thank you China. At any rate, you can also see the light leakage from around the number boards right before I touched it up. As mentioned earlier, I simply used a toothpick dipped in black paint (and a steady hand).