Athearn RTR RS-3 Build with the MRC 16-bit Sound Decoder
In this build I set out to:
*Repower with Kato HM-5 motor
*Replace incandescent lights with LEDs
*Add MRC 16-bit sound decoder
*Add Sugar Cube speaker
*Repower with Kato HM-5 motor
*Replace incandescent lights with LEDs
*Add MRC 16-bit sound decoder
*Add Sugar Cube speaker
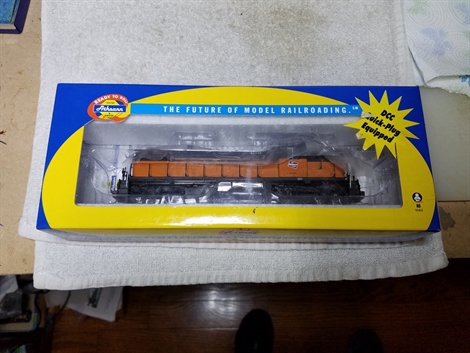
This loco I picked up at a local meet and was in like-new condition. It is DCC ready, but as is customary for me I will remove the factory board and wire the decoder directly in. I wanted to try MRC's cheapo 16 bit decoder to see what the deal is. It is half the price of quality sound decoders, and I wanted to experience the cheapness myself. As it turns out, it is not a bad decoder. Read on for the details.
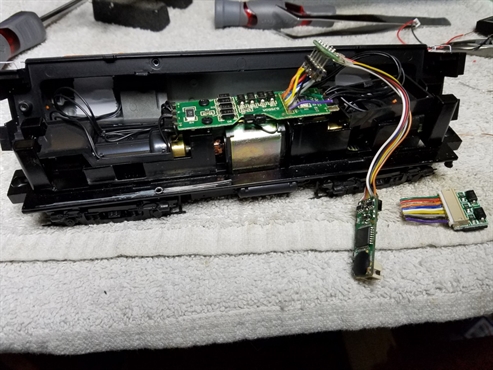
Here is the innards of the loco with the MRC decoder plugged in. The MRC had a NMRA connector, but the loco had JST. I cut off and soldered a female NMRA connector to the loco board. I wanted to run this thing and see if the cheap decoder was even worth the trouble.
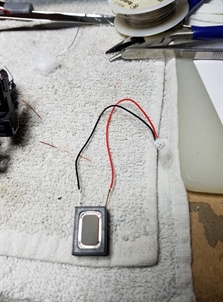
The MRC decoder had a 2 pin male JST connector for sound and included a JST female to connect to your preferred speaker of choice. Here my HQ 13x18mm Sugar Cube speaker is ready for testing.
As it turns out, the sound of this decoder was not too bad through the Sugar Cube speaker and I decided to proceed.
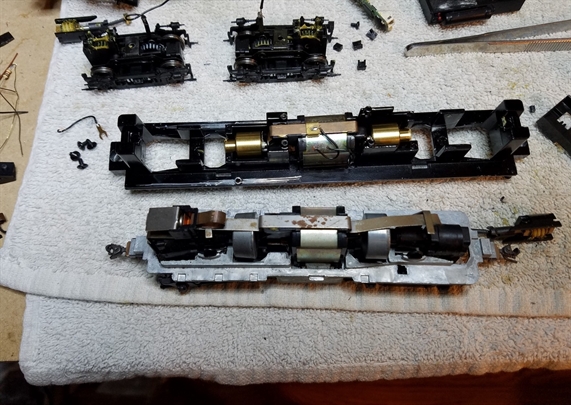
Before continuing, I wanted to point out the difference between the Alco RS-3 and an SW-1500. The Alco (top) is big enough to accommodate a regular-sized Athearn motor.
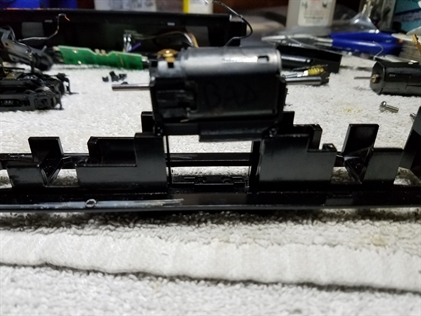
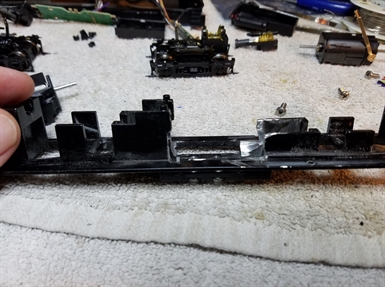
Here is the Kato HM-5 resting on the frame. It ain't gonna fit as-is! The RTR's always seem to have more frame material to maximize weight and therefore traction. Get out the dremel and start grinding!
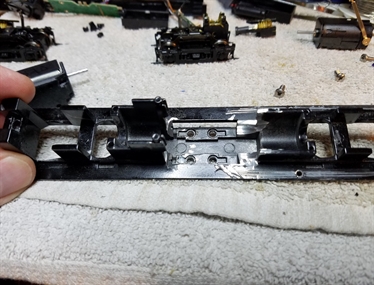
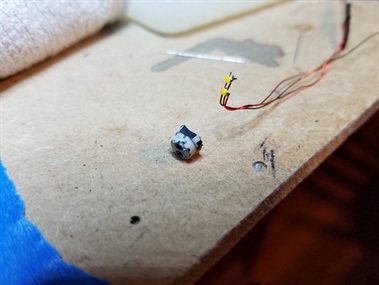
Cut off the tops of the posts that the factory DC board attached to...
Cutting off the posts wasn't enough, so grind off the material below...

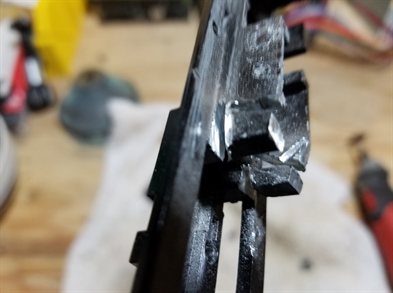
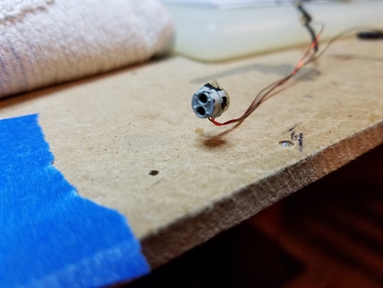
More grinding to the other side of where the motor will sit. There I just cut notches below the posts to preserve the frame material.
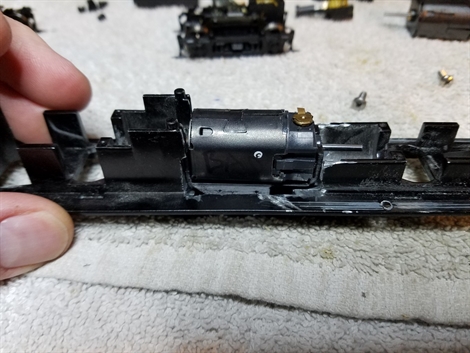
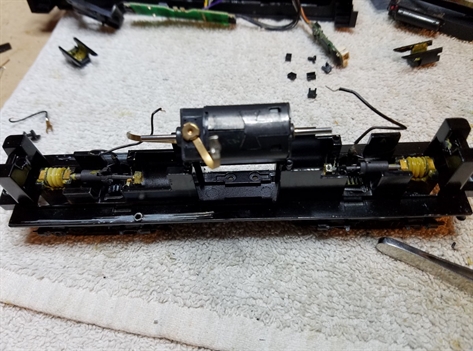
Motor now fits.
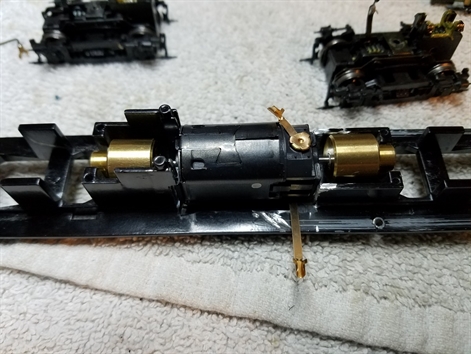
Motor and flywheels in the frame. Please refer to the HM-5 Motor Mount page for the procedure to transfer flywheels.
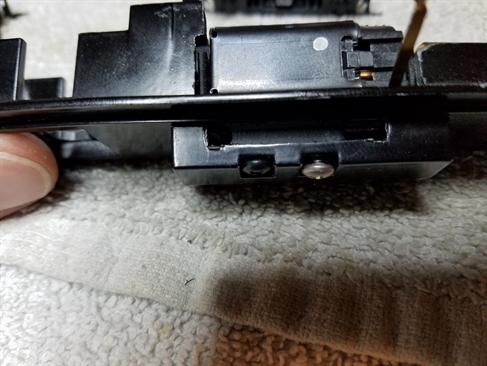
Here is a snag. The #4-40 5/16" screws I include in my HM-5 motor mount kit are too long for this frame. The black screw you see is 1/4" long. The 5/16" screws are ideal for the vast majority of Blue Box and RTR locos, so I have to keep including that length with my motor mount. Sorry, folks, you will have to cut 'em down or get some 1/4" ones.
Getting the sound out!
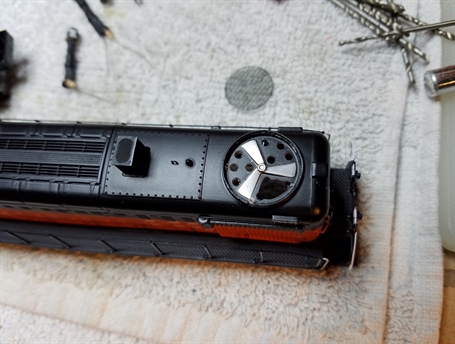
It's always a pain when there are no holes or grates for the sound to exit the shell. The obvious choice was the large fan at the rear of the loco because it had a nice grate over it. I removed the grate carefully and drilled some holes. Time to get out the hobby knife!
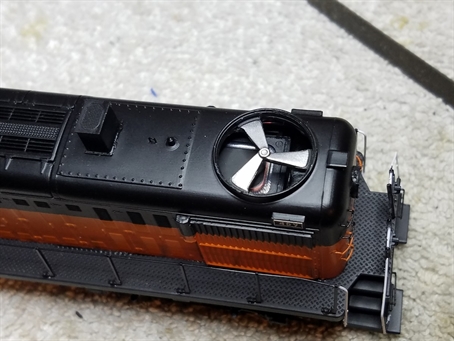
The speaker doesn't line up perfectly, but it's close enough. I used some black paint to clean up the area of the fan and the inside of the shell that might be visible through the grate.
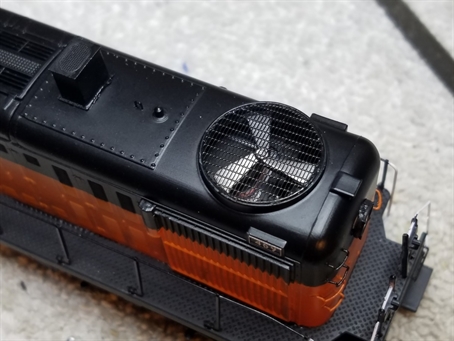
I glued the grate back on with white glue, used very sparingly. It dries clear!
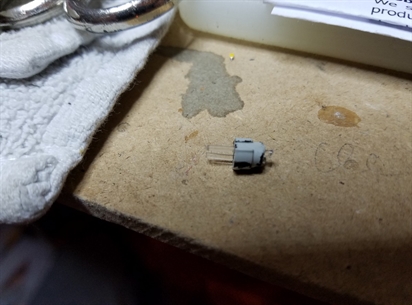
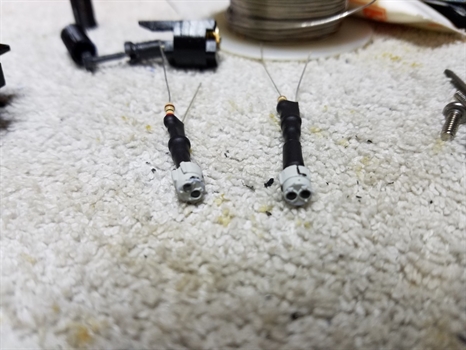
These light assemblies are pretty cool. Once the incandescents are removed, the plastic filaments go in. Chack out my filament page for details.
I hit another snag at this point because the speaker was going to be in the way of the rear light assembly. So instead of using (1) 3mm LED behind the assembly, I used (2) SMD LED's
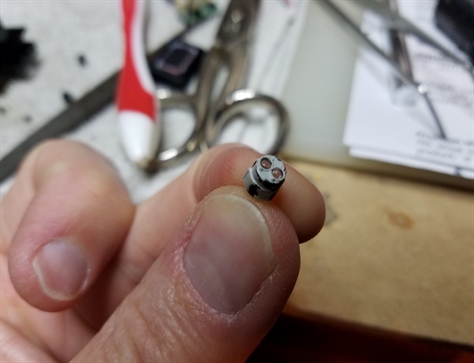
Shown here are the two SMD LEDs wired in parallel on the cathode side. The annodes are separate because they each need their own resistor. The resistors will be a few inches back.
I still used 2 tiny lengths of filament for the acutal bulbs. A dab of hot-melt glue holds the LEDs on the back of the assembly, a tiny dab of white glue holds each of the bulbs in the front. I threw some black paint over the back to prevent light leakage.
I still used 2 tiny lengths of filament for the acutal bulbs. A dab of hot-melt glue holds the LEDs on the back of the assembly, a tiny dab of white glue holds each of the bulbs in the front. I threw some black paint over the back to prevent light leakage.
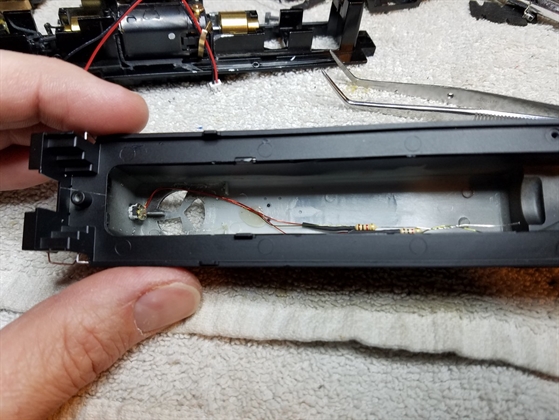
Rear light installed. The wires are routed around the fan hole. The little straight thing behind the light assembly is part of the shell, and I didn't need to remove it. Here you can see the resistors and their end leads twisted together to complete the parallel circuit.
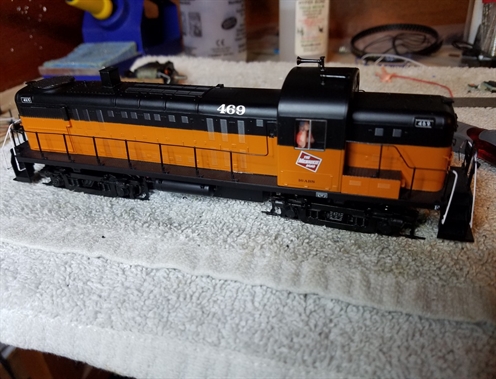
Finished project. I added a driver because it was super easy. The cab was not glued down.
A few extra notes on the decoder
Anyone used to an expensive decoder will likely take exception to the lack of extra function outputs. I'm all about adding extra LEDs for ditch or mars lighting, but there are no options here unless you wire them up to the headlights, or sacrifice the rear light. Another option would be to wire extra lighting straight to track power with a rectifier.
The prime mover sounds did not quite sync up with the speed of the loco, plus I needed to change it to the Alco sounds and change the loco's address to its road number. When I hooked it up to JMRI's DecoderPro I discovered that the decoder does not support reading CV's! Despite only being able to set CV's, not read them, I set the address and changed the PM to an Alco. I also set the loco to use the 128 speed table. After these changes, the loco seemed to run more realistically.
My conclusion of this cheap MRC sound decoder is.... it is not bad for the money. It sounds okay with a nice speaker, if you don't need a lot of bells and whistles (no pun, it does come with requisite horn and bell sounds). I also found the motor control may be slightly less smooth than more pricy decoders. This might be a good choice for adding DCC to cheaper locomotives like the Blue Box Athearns, Bachmann, and Chinese Kato. It is sometimes hard to justify spending twice as much on a decoder than the cost of the locomotive it goes into.